 |
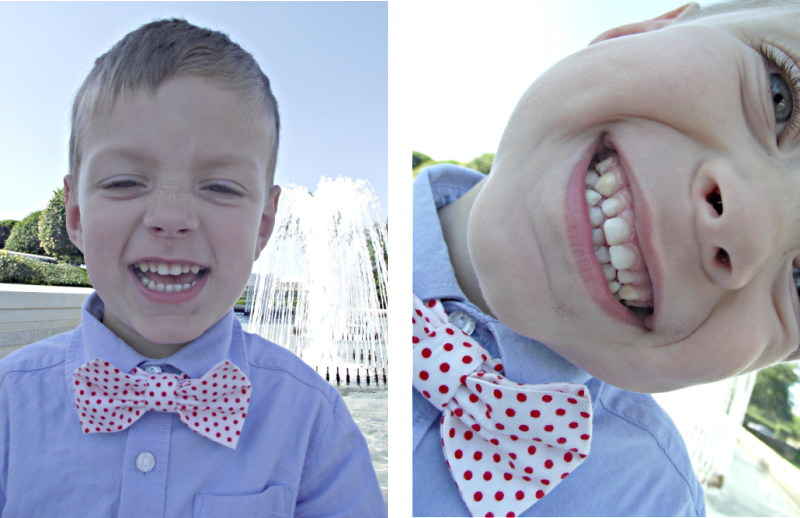
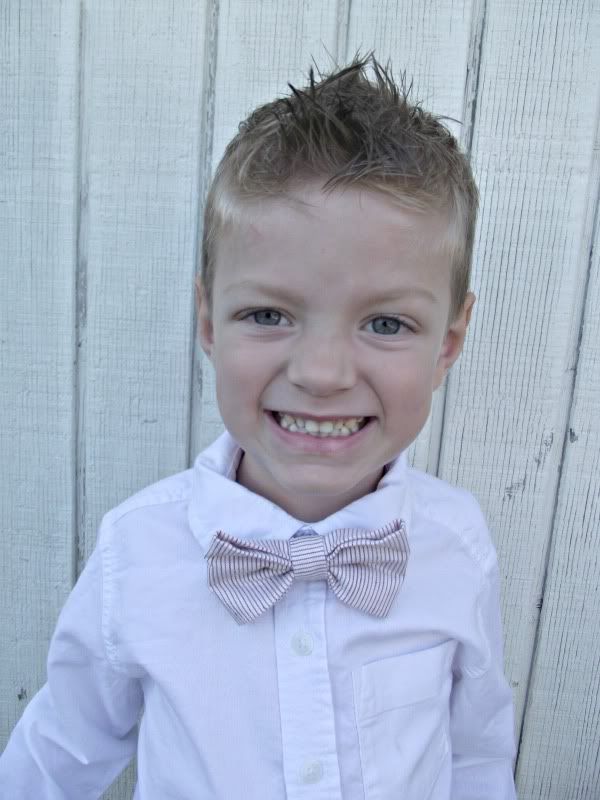
| Anyone with an eye on Levi knows how much I love a dapper, dandy bowtie. Thanks to lovely, sweet, and talented Missus Marilyn for the elegant instruction on how to make these masculine frills. |
I’m a visual learner so I tried to take a picture every step of the way.
Are you ready?
The main part of the bow tie
consists of two rectangles of fabric.
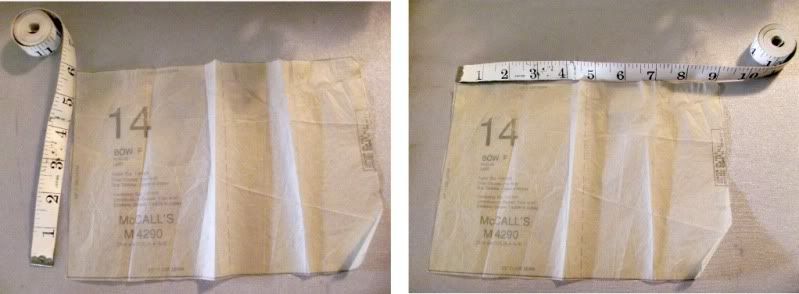
The larger one is 6″ by 9″,
the smaller one is 2″ by 4″.
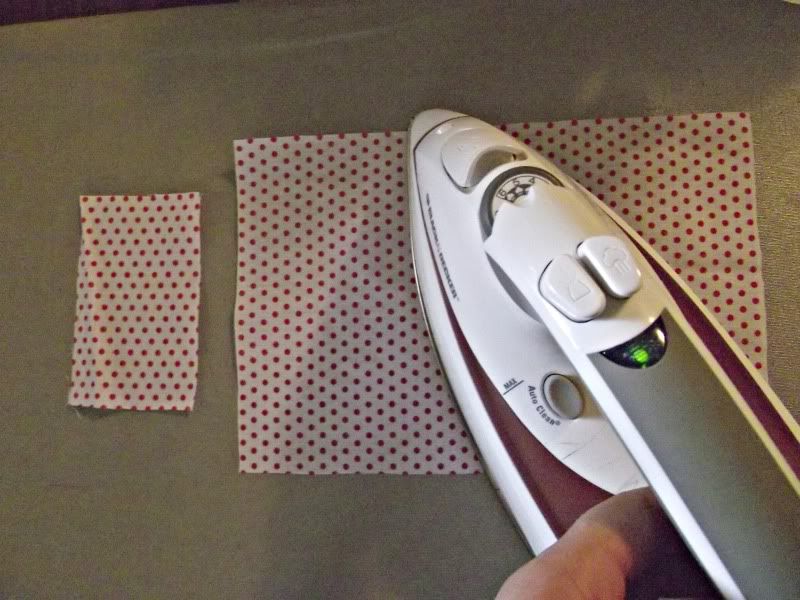
If you haven’t already ironed the fabric
now is the time to do it!
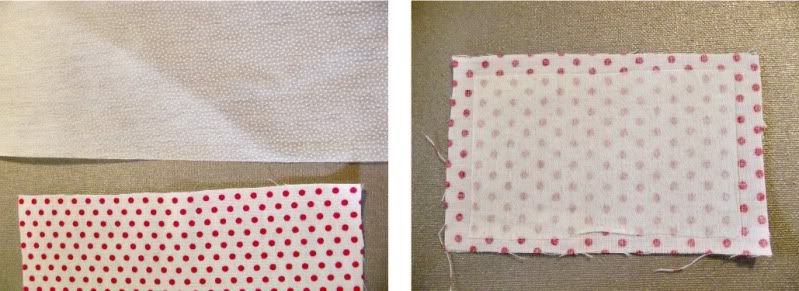
Next you cut and iron on interfacing to both
rectangles on the underside of the fabric
following the interfacing packaging instructions
cutting the interfacing to rectangles slightly
smaller then the fabric to avoid
bulky seems later on.
Set the smaller rectangle aside for a while.
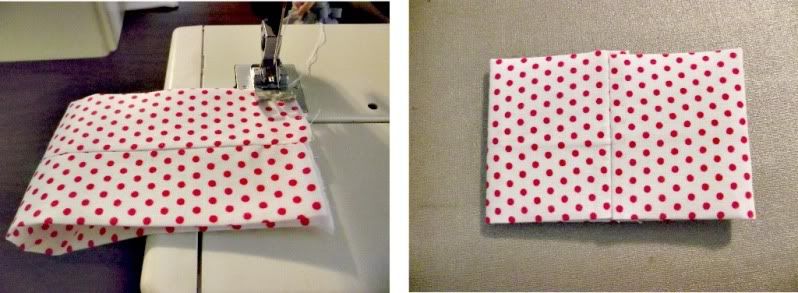
Fold the larger rectangle in half the long way
and sew with interfacing on the outside.
Open to reveal fabric side and iron with
seam in the middle as shown below.
Bring the long ends together with seam on the outside
and sew for the 2nd time.
Fold the new seam inside and iron again
with seam in the middle.
Cinch the middle and hand stitch
or glue with hot glue gun.
I have done both and found that gluing
is much faster and still looks good.
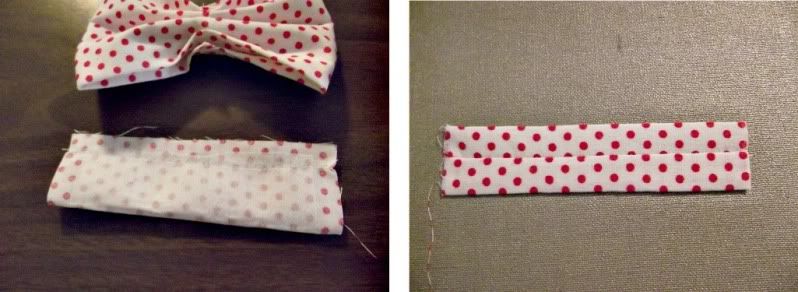
Now take the smaller rectangle, fold in half long ways
and sew along side like you did with the bigger rectangle.
Turn fabric out and iron with seam in the middle.
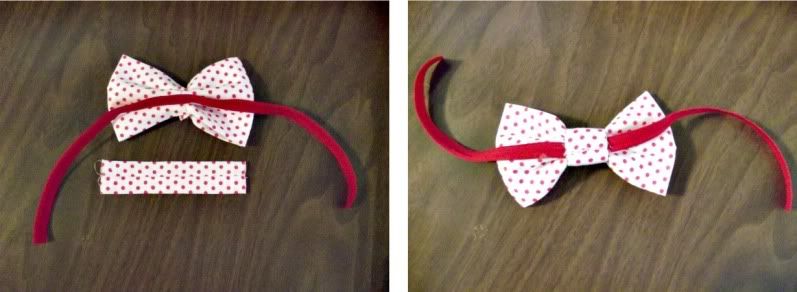
Before stitching the smaller rectangle to the middle
attach elastic to back side of bow.
Once again, you can either hand stitch
or glue to complete this step.
Make sure when you measure the elastic
you give room for a collar so it’s not too tight around the neck.
Before you’re done attach the Velcro.
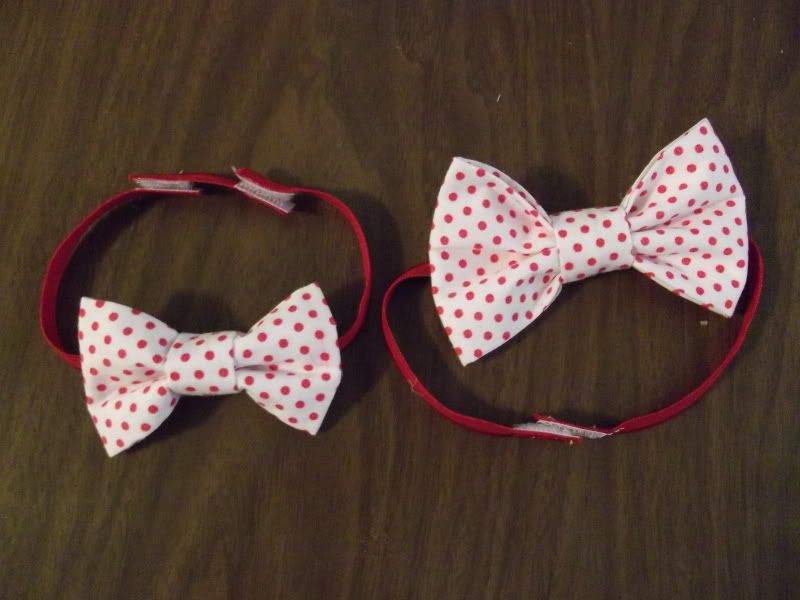
And there you are!
Notice I have two different sizes.
The measurements I posted above were for the
bigger bow tie which fits boys ages 3+.
To make a smaller one cut the fabric to
7″ by 5″ and 1 1/2″ by 3″.
Also, notice I added an extension to the smaller bow tie
below to allow easy adjustment for growth.
Happy sewing!
Feed me fashionably fresh

